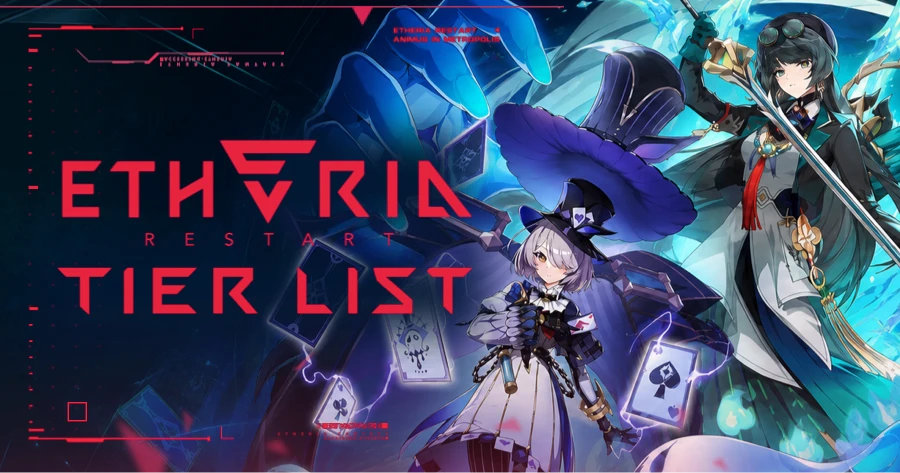

Anime Expeditions is a Roblox tower-defense game from Expeditions Entertainment. Players summon anime-inspired units and place them along the path to stop incoming enemies. Within 24 hours of launch, visits passed 66 million; total visits have exceeded 690 million, with live player counts often reaching around 80,000.
Anime Expeditions is a Roblox tower-defense game from Expeditions Entertainment. Players summon anime-inspired units and place them along the path to stop incoming enemies. Within 24 hours of launch, visits passed 66 million; total visits have exceeded 690 million, with live player counts often reaching around 80,000.
However, the roster is large and uneven, and frequent updates keep reshuffling the meta. Most players have a hard time deciding which units deserve their limited resources, and one wrong investment can waste a lot of upgrade materials.
This guide is based on publicly available information for the current version. It provides a complete unit tier list, team templates, and investment priorities so you can spend limited Gems and Trait Crystals on units that are genuinely worth building. In-game values should always take priority over any outside reference.

Quick Answer - The Best Units Right Now
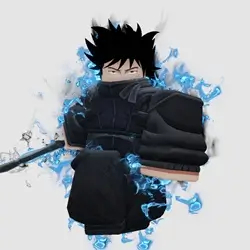
In the current version, Update 1.0 Warrior Saga, the strongest overall unit is Shadow (Divine). It brings damage, summons, crowd control, and a teamwide magic buff in a single slot, making it irreplaceable. Right behind it are Puppet, Crow, and 8th Sword, which cover universal damage amplification, shield breaking, and raw physical DPS respectively.
One important note: this guide does not rank Vegetable as the number-one unit, and it does not place Dark Mage in S tier. The reasons are explained later. If you only want a quick team-building answer, start with the role-by-role picks below.
| Role | Best Pick | Alternative |
|---|---|---|
| Main Carry (clear / execute) | Shadow (Divine) | 8th Sword / Crimson |
| Sub DPS | Cursed Student | Cursed Immortal |
| Shield Break | Crow (Black Fire) | No true replacement |
| Crowd Control | Salmon Sorcerer | Bio Insect |
| Team Buff | Puppet (Telekinetic) | Forbidden Teacher |
| Economy | Ramen Guy | Stone Alchemist |
How This Tier List Is Ranked
This tier list does not judge strength by rarity alone. It ranks units by practical value in the current version. Pure-DPS teams are easily broken by shields, fast enemies, and high-HP bosses, so crowd control and team buffs are weighted almost as heavily as raw damage.
The rankings combine public information with cross-checked player feedback to stay close to the current community consensus. Balance changes are frequent, so actual in-game performance should remain the final reference. Reevaluate your investments after major patches.
Anime Expeditions Full Tier List (S to D)
Anime Expeditions Tier List Update 1.0 - Warrior Saga
S
Shadow (Divine)
Puppet

Crow
8th Sword

Forbidden Teacher

Ramen Guy
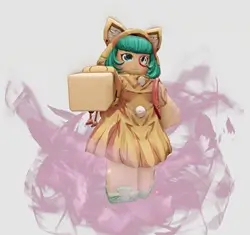
Toy Maker
A
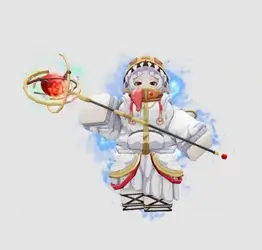
Elf Mage

Dark Mage
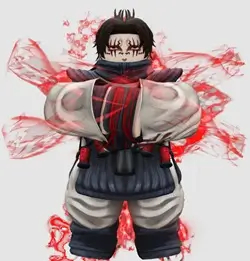
Crimson
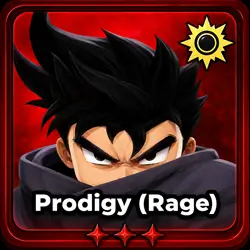
Prodigy
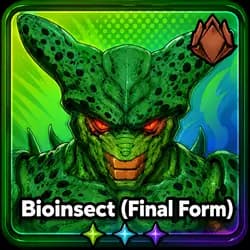
Bio Insect

Cubert
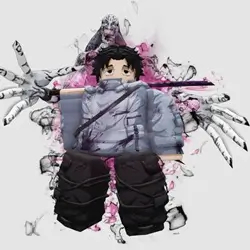
Cursed Student

Cursed Immortal
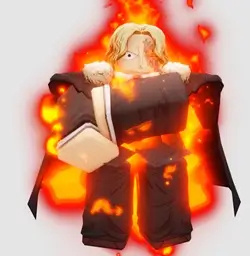
Flame Emperor
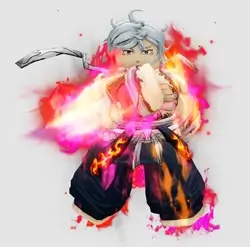
Hollow

Lady Giant
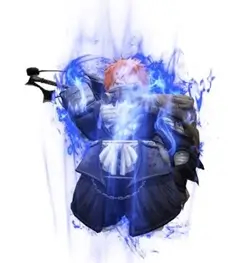
Reaper

Razorjaw
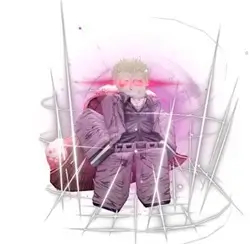
String Demon
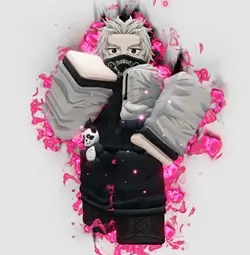
Salmon Sorcerer

Vegetable

Carrot (Unl.)

The Drink
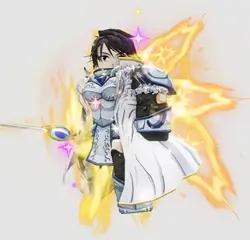
True Saint

The Hero
B

Greed

Ice Queen
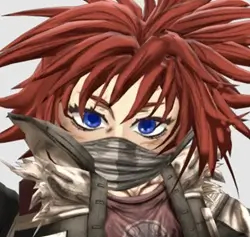
Scissor

Water Princess
C
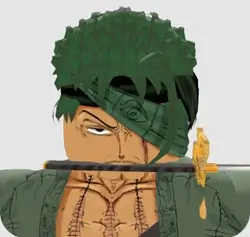
Bounty Hunter

Corps Captain

Demon Cyborg
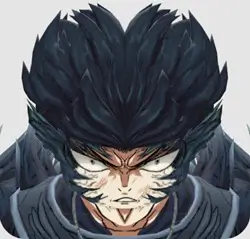
Ice Mage

Nen Hunter

Stone Alchemist
D

Curly Brow

Kid Assassin

Reishi Archer
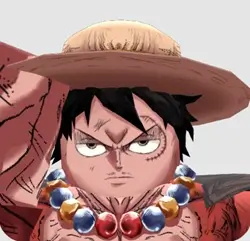
Rubber Boy

Thunder Shinobi
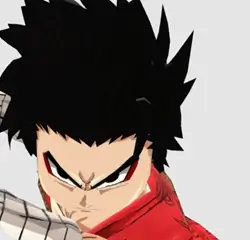
Carrot (Base)
Tiers are based on the overall Update 1.0 Warrior Saga meta. Units within the same tier are not ordered. Because updates are frequent, judge final strength by in-game performance.
S Tier Units Explained
S
S Tier Units - Meta-Defining Picks
| Unit | Rarity | Role | Summary |
|---|---|---|---|
| Shadow (Divine) |
Secret | Main Carry + Support | Combines damage, summons, stun, time rewind, and a teamwide magic buff, making it the irreplaceable top pick. |
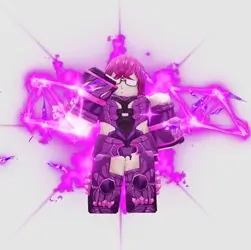
| Puppet (Telekinetic) |
Mythic | Team Buff | Its 20% damage-taken mark works with any team type, making it the safest second choice. |
| Crow (Black Fire) |
Secret | Main Carry + Shield Break | High raw DPS and the only reliable shield-breaking tool in the game; mandatory on shield-heavy maps. |
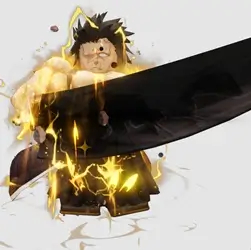
| 8th Sword (Berserk) |
Secret | Physical Main Carry | Stacks permanent damage through kills and grows stronger over time, making it the raw-DPS king of long Raids. |
| Forbidden Teacher |
Legendary | Magic Buff | Boosts all magical units in range. Since many top carries are magical, its value far exceeds its rarity. |
| Ramen Guy |
Legendary | Economy | Generates 50% extra Yen from kills, letting the whole team reach upgrade breakpoints much earlier. |
| Toy Maker |
Exclusive | Summon / Block | Summons blockers along lanes to delay enemies. On multi-lane maps, the time it buys for the whole team will never fully show on a damage chart. |
Shadow (Divine) holds the top spot because it compresses five roles into one slot: main-carry damage, permanent summons, stun, time rewind, and a teamwide magic buff. The downside is its 0.1% Secret pull rate, but once you get it, it becomes the core of your account.
Puppet is the best slot-filler after Shadow. Its damage mark works equally well for physical, magical, crit, and burn teams. Just remember that Puppet itself attacks as Psychic, so mainstream physical and magical buffs do not affect it; it only needs to cover the Boss.
Crow's value is not just high raw damage. It is currently the only stable shield breaker. Once shielded enemies appear, lacking Crow can make a map feel almost unsolvable. Its fixed short range is a weakness, but its shield-breaking role has no real substitute.
8th Sword is the top raw physical DPS for physical teams. It stacks permanent damage through kills and gets stronger the longer it stays on the field. That makes it excellent in long Raids but slower in short story stages, so treat it as a later investment rather than your first project.
It is worth emphasizing that Forbidden Teacher, Ramen Guy, and Toy Maker are often underrated. Forbidden Teacher can boost multiple magic carries at once in the current meta, while Ramen Guy and Toy Maker solve economy and multi-lane blocking. Their value is much higher than their rarity suggests.
A Tier Units & Their Trade-Offs
A
A Tier Units - Strong Carries With Trade-Offs
| Unit | Rarity | Role | Summary / Drawback |
|---|---|---|---|
| Elf Mage (Unleashed) |
Mythic | Main Carry | The strongest self-sufficient A-tier carry, stacking permanent spell damage through its charge cycle and paying off best in long stages. |
| Dark Mage (Sovereign) |
Mythic | Main Carry + Control | Good mixed damage and control, but its form cycle only switches every eight attacks, making the tempo somewhat slow. |
| Crimson (Brother) |
Exclusive | Main Carry | Stacks delayed explosions and ground damage pools, making it one of the easiest high-impact DPS options for non-whale players. |
| Prodigy (Rage) |
Secret | Main Carry | Deals extra damage to enemies with status effects and has very high burst, but needs status appliers to reach its ceiling. |
| Bio Insect (Final Form) |
Mythic | Scaling Carry + Control | Combines copying, summons, and control. It starts slowly but is extremely strong in long modes; avoid it in short stages. |
| Cubert |
Mythic | Support / Control | Its cube network adds team damage and stun, making it an extremely flexible slot that is hard to misbuild. |
| Cursed Student (True Love) |
Mythic | Sub DPS | Copies the closest teammate's attack. Place it right beside your maxed carry and never next to a farm unit. |
| Cursed Immortal (Black Sun) |
Mythic | Mobile Wave Clear | Moves along the path with a dragging damage aura. It is excellent on long straight lanes, but aura buffs cannot be built around it easily. |
| Flame Emperor (Reincarnate) |
Mythic | Burn Wave Clear | Spreads burn through enemy packs, while its fire wall can lock down a lane by itself. It is the engine that starts burn teams. |
| Hollow (Blaze) |
Mythic | Burn Carry | Deals bonus damage to burned enemies. It approaches S-tier value beside Flame Emperor but drops sharply when used alone. |
| Lady Giant (Envy) |
Mythic | Physical Carry | Four placements give it strong value, and it can create stone walls, but its giant form has noticeable cooldown downtime. |
| Reaper (Released) |
Mythic | Physical Carry | Gains damage as enemy variety increases, so maps with only a few enemy types limit its ceiling. |
| Razorjaw (Hunter) |
Mythic | Wave-Clear Carry | Three placements, low cost, and strong wave clear, but its full-lane sweep only unlocks at upgrade 8. |
| String Demon (Awakened) |
Mythic | Sub DPS + Control | Its cocoon briefly controls enemies, but the team needs high attack speed to deal damage before the cocoon breaks. |
| Salmon Sorcerer (Grade 1) |
Mythic | Crowd Control | Permanent slow plus on-field stagger makes it the strongest dedicated control unit, with its own damage being secondary. |
| Vegetable (Prince) |
Mythic | Physical Carry | Stacks damage and crit from active nearby units. It is strong but environment-dependent, making it a combo piece rather than an automatic number one. |
| Carrot (Unleashed) |
Mythic | Follow-Up Carry | The evolved Dragon Ball-style carry can teleport and trigger follow-up bursts. Do not confuse it with the D-tier base Carrot. |
| The Drink (Juicebox) |
Exclusive | Physical Support | Buffs physical units and rewards follow-up attacks. Its value depends on nearby follow-up teammates. |
| True Saint (Holy) |
Exclusive | Main Carry + Support | An accessible crit support, though its damage-steal mechanic weakens the teammate it borrows from. |
| The Hero |
Legendary | Physical Buff | Boosts physical units in range. Its efficiency is comparable to Forbidden Teacher, making it core for physical teams. |
New Update 1.0 Units - Still Settling
Update 1.0 Warrior Saga added six Dragon Ball-themed units at once. Their tier positions are shown in the table above, but they are still new and real combat data is still shifting.
The developers often preview balance changes in the official Discord before they appear in-game. Because of that, expensive investments into these new units are best delayed until the version settles and their strength becomes clearer.
Prodigy (Rage) - Best New Carry If You Have Status Uptime
Prodigy is the most promising main-carry candidate among the new units. At max upgrades, every third attack deals AoE damage, and enemies with status effects take extra damage, giving it very high burst.
However, it depends heavily on whether your team can keep status effects active. Without burn, bleed, or similar appliers, its damage falls off noticeably, so it is not a standalone carry that becomes strong the moment you get it.
As for acquisition, Prodigy does not come from summons. It is unlocked for free through the East Town questline, making it worth pursuing if you enjoy story content and do not mind grinding quests.
Bio Insect (Final Form) - Best Long-Mode Scaler
Bio Insect is a classic scaling unit, combining damage copying, summons, and permanent stacking. The longer it stays on the field, the more value it gains, making it elite in long modes.
The trade-off is an extremely slow start. In short stages, the fight often ends before it comes online, so its value there is limited and not worth heavy investment.
Before investing, decide what content you play most. If you focus on Raids, Infinite, and other long-form modes, it is worth building. If you mostly clear short stages, let other units take priority.
Cubert - The Most Flexible Investment
Cubert is the safest investment among the new units. Its cube network adds team damage and stun, and it fits smoothly into physical, magical, crit, transformation, or follow-up teams.
It is not a traditional main carry, but it is almost impossible to slot incorrectly. No matter who your core unit is, a Cubert slot will almost always provide positive value and very high forgiveness.
For players unsure what to build next, Cubert is the low-risk choice. It may not top the damage chart, but it makes your existing team steadier and stronger overall.
Carrot + The Drink + Vegetable - The Follow-Up Core
These three form the follow-up core of Update 1.0: Carrot triggers follow-ups, The Drink punishes marked physical weaknesses, and Vegetable snowballs damage from nearby activity.
Individually, all three are fairly ordinary. Their value appears only when used together, because each unit directly feeds the next mechanic and creates a chain of buffs.
This is one of the most enjoyable but team-dependent setups in the current meta. It suits players who already have a stable lineup and want to experiment, not beginners looking for their first investment.
Best Team Comps by Content Type
Below are four tested team templates by content type, covering magical burst, physical Raids, burn synergy, and free-to-play progression.
Each setup uses six units. In real runs, keep the core combination first, then swap the last one or two slots based on the map. Avoid blindly stacking the same type of DPS.
Magical Burst Team
🔮
Magical Burst Team - Magic Burst Setup
| Role | Unit | Purpose |
|---|---|---|
| Main Carry | Shadow (Divine) |
Teamwide magic buff, summons, stun, and time rewind; the core of the lineup. |
| AoE Carry | Dark Mage (Sovereign) |
Provides mixed damage and control through freeze slow and lightning ground damage. |
| Shield Break | Crow (Black Fire) |
Breaks through shielded enemies and adds delayed burst damage. |
| Buff | Forbidden Teacher |
Continuously boosts all magical units in range. |
| Damage Amp | Puppet (Telekinetic) |
Marks the strongest enemy so it takes more damage, covering the Boss. |
| Economy | Ramen Guy |
Supports an expensive upgrade curve. |
The key is placing Shadow, Dark Mage, and Crow inside Forbidden Teacher's buff range. Trigger Puppet's mark first, then use Shadow Realm so Crow's burst and Dark Mage's damage cycle land inside the amplified window.
Puppet attacks as Psychic and does not benefit from magic buffs, so it only needs to cover the Boss rather than crowding into the magic group. If the map has no shielded enemies, you can remove Crow and add Crimson or Flame Emperor for more damage.
Physical Raid Team
⚔️
Physical Raid Team - Physical Raid Setup
| Role | Unit | Purpose |
|---|---|---|
| Main Carry | 8th Sword (Berserk) |
The core DPS that stacks permanent damage through kills and grows stronger in long fights. |
| Copy Carry | Cursed Student (True Love) |
Copies the closest teammate's attack and must be placed tightly next to the main carry. |
| Wave Clear | Razorjaw (Hunter) |
Uses area stagger and full-lane sweep to clear dense enemy waves. |
| Buff | The Hero |
Continuously boosts all physical units in range. |
| Damage Amp | Puppet (Telekinetic) |
Marks the Boss so it takes more damage. |
| Economy | Ramen Guy |
Accelerates 8th Sword's stacking pace. |
Place Cursed Student right next to your current highest-damage physical carry, usually 8th Sword after it has built kill stacks. Razorjaw covers a wide route on its own, so place support and economy units farther away to avoid interfering with the copy target.
This team is built for long Raids, where 8th Sword has time to ramp. If a map values stone-wall blocking more than wave clear, replace Razorjaw with Lady Giant.
Burn Engine Team
🔥
Burn Engine Team - Burn Engine Setup
| Role | Unit | Purpose |
|---|---|---|
| Burn Source | Flame Emperor (Reincarnate) |
Applies and spreads burn through enemy groups while using a fire wall to lock down a lane. |
| Burn Conversion | Hollow (Blaze) |
Turns burned enemies into extra damage value, acting as this team's damage amplifier. |
| Crowd Control | Salmon Sorcerer (Grade 1) |
Slow and stagger keep enemies inside the burn area. |
| Scaling Carry | Elf Mage (Unleashed) |
Independent AoE damage that keeps stacking spell damage in long stages. |
| Damage Amp | Puppet (Telekinetic) |
Covers mixed damage types and marks strong enemies for extra damage. |
| Economy | Ramen Guy |
Funds the upgrades for two expensive evolved Mythics. |
The team works only if Flame Emperor applies burn while enemies are still inside Hollow's range. Salmon's slow exists to preserve that window. Hollow cannot ignite enemies on its own and must be started by Flame Emperor.
For upgrades, build Flame Emperor before Hollow. If the burn source is not ready, half of Hollow's kit is effectively inactive, and reversing the investment order will slow the team down badly.
Free-to-Play Progression Team
🌱
Free-to-Play Progression Team - Budget Progression Setup
| Role | Unit | Purpose |
|---|---|---|
| Blocker | Toy Maker |
Summons blockers across lanes to buy attack time for the whole team. |
| Main DPS | Crimson (Brother) |
The most accessible source of high immediate damage for free-to-play players. |
| Sub DPS | True Saint (Holy) |
Easy to obtain and evolve, while providing crit support. |
| Crowd Control | Ice Mage |
A budget slow slot before you get Salmon Sorcerer. |
| Buff | The Hero / Forbidden Teacher |
Choose physical or magical buffs based on your main carry's attack type. |
| Economy | Stone Alchemist |
A transitional economy slot before you get Ramen Guy. |
Every unit in this team comes from tournaments, events, or early banners. You do not need a Secret or top Mythic to assemble it, and it can clear story mode comfortably.
This team is a transition, not the endpoint. Each time you pull a stronger unit, replace the matching role and gradually move toward one of the three complete teams above.
Placement & Attack-Type Rules That Change Your Damage
Attack Types Gate Your Buffers (Magical / Physical / Psychic)
Buffers only work on units with matching attack types. Forbidden Teacher buffs magical units, while The Hero buffs physical units. Do not mix them blindly in the same team.
Burn partners require special attention: Flame Emperor is magical, while Hollow is physical. No single buffer covers both, so set up their buff ranges separately.
Puppet is the exception. It attacks as Psychic, so mainstream physical and magical damage buffs do not affect it. It does not need to squeeze into any buff range.
Positioning-Dependent Units (Cursed Student, Cubert cubes, Bio Insect)
Cursed Student copies the closest teammate. Place it right next to your current highest-damage main carry, and never beside a farm unit or buffer, or the entire mechanic is wasted.
Cubert's cubes should be attached to high-attack-speed units. The faster the attack rate, the more often the cube damage and stun trigger; putting them on slow units wastes a lot of value.
Bio Insect should enter as early as possible and stay near your strongest unit to maximize its damage copying. The later it is placed, the less growth it can copy.
Which Units to Invest In First
Early-Game Investment Order
First, claim Toy Maker. It only requires participating in one tournament and can be used immediately.
Next, build a cheap buffer. Choose between Forbidden Teacher for magic and The Hero for physical based on your main carry's attack type.
Then add an economy slot. Ramen Guy or Stone Alchemist both work, preventing upgrades from getting stuck on cash.
Finally, focus your resources on evolving the first strong Mythic you pull, prioritizing Crimson, Cursed Student, Flame Emperor, or Elf Mage.
Best Traits for Top Units
Traits only apply to evolved units, and their impact on strength can exceed almost any other system, so plan them early.
Unbound provides roughly +350% damage, but it restricts the unit to one placement, so it only suits carries that function well with limited placements.
Multi-placement units such as Lady Giant and Salmon Sorcerer should usually use Primordial to preserve their valuable map coverage.
Crit-based units such as Crow, Cursed Student, and Reaper should choose Forsaken. Burn teams prefer Draconic because damage-over-time cannot crit.
Don't Waste Resources On
Do not spend evolution materials, rerolls, or Trait Crystals on units below B tier.
Save those resources for Mythics you will still use next month. Putting them into transition units is almost the same as wasting them.
Final Thoughts - A Working Snapshot
At the end of the day, Update 1.0 Warrior Saga rewards team construction rather than stacking standalone units. Shadow leads the field, Crow and Crimson support the strongest cores, and cheaper utility units such as Forbidden Teacher and Toy Maker are worth far more than their rarity suggests.
At the same time, remember that this is only a snapshot of the current version. Balance changes are frequent, the developers often preview adjustments in the official Discord, and the data for the six Dragon Ball-themed units is not fully settled, so adapt based on the units you actually own.
Start by stabilizing with a transition team, build your core units according to the investment order, and reassess your resource allocation after every major patch. That will save you a lot of wasted effort.
If you want to speed up progression and keep Gems and Robux topped up on time, consider usingGamsGo's Buy Robux for your top-ups, then spend the time you save on real progression.
EXTRA 1% OFF
Save More on Your Roblox Top-Up
Top up Robux at a lower price on GamsGo and enter code SAVE60 at checkout to receive an extra 1% discount.
Top Up Roblox Now
FAQ
What's the best unit in Anime Expeditions?
Shadow (Divine) is the strongest overall unit in the current version. It combines damage, summons, stun, time rewind, and a teamwide magic buff in one slot, works across all major modes, and holds the number-one position.
Ramen Guy or Stone Alchemist for farming?
Ramen Guy is the better overall choice because it generates extra Yen from kills and has stronger long-term value. Stone Alchemist is easier to obtain and works well as a transition economy unit before you get Ramen Guy.
Is Vegetable (Prince) really the best unit?
No. Vegetable is strong, but it depends heavily on active nearby teammates and a follow-up setup. It is a combo piece, not the standalone best unit. Its overall flexibility is still below Shadow's.
Should I ever run a full-DPS team?
Not recommended. Shields, fast enemies, and high-HP bosses can easily break pure-DPS teams, and they tend to lose more often than they win in practice. Keeping at least one control slot and one buff slot is much safer.
Related Articles
All Working Anime Last Stand Codes
King Legacy Codes: Free Gems, Beli &EXP Boosts